It’s often helpful to be able to build or fix things without needing to go to the store: perhaps it’s urgent, perhaps you don’t have a car, perhaps there’s a pandemic on, perhaps you have an idea that you want to try out before your interest fades. In cooking, the foods that you keep on hand are often called “pantry staples”; what are the equivalent consumables worth stocking for DIY projects?
For me, the key “ingredients” I want to have on hand are:
2x4s: 1½” by 3½” by generally 8′, very strong though not infinitely so, lots of wood to sink a fastener into. Can be doubled up if you need to make a post. It can be worth getting some 2x3s as well (cheaper; useful when a 2x4 is more than you need) and 2x6s (stronger; can span a wider distance; might happen to be a useful thickness). I wouldn’t stock 2x8s or bigger since if I need those I’m probably working on a big enough project that I’m getting more materials anyway.
¾” plywood: comes in 4x8 sheets, but these are unwieldy and too big to fit down my basement stairs so I usually have the sheets cut into three 16“ or two 24” strips on the store’s panel saw first. I usually get AB (one nice side, one decent side) softwood since it’s reasonably cheap, easy to work with, and attractive enough when sanded that I don’t mind it indoors. Having some ¼” plywood can be useful for lighter things and spacing adjustments.
screws: you need some way to attach these together, and screws are a good default. Traditionally the standard fastener would be nails, but I find screws are a better fit for small projects. I like that there’s no hammer blow to knock things out of alignment or need to be braced against. Historically people have preferred nails because of higher shear strength, but screws are actually very good here. Star-drive (torx) screws are a lot more pleasant than Phillips (plus-shaped) because the bit stays on the screw more easily. You want at least 3″ (attaching two 2x4s), 2¼” (attaching ¾” plywood to the flat side of a 2x4), and 1½” (attaching ¾” plywood to more ¾” plywood) though I’ve also found ½”, ¾”, 1 ¼”, and 3½” sizes useful enough to keep on hand.
glue: wood glue, or you can just use white glue. Before screwing two pieces of wood together consider putting in a bit of glue. You’ll get a much stronger joint, and the screws provide clamping with no extra effort. Since the screws are there you generally don’t need to wait for the glue to dry before continuing, which removes the normal downside of using glue.
scraps: when you finish a project, keep your scraps, especially the ones of more unusual materials. This collection of weird shapes can provide inspiration, have the weird thing you’re looking for, or keep you from needing to cut up a larger piece.
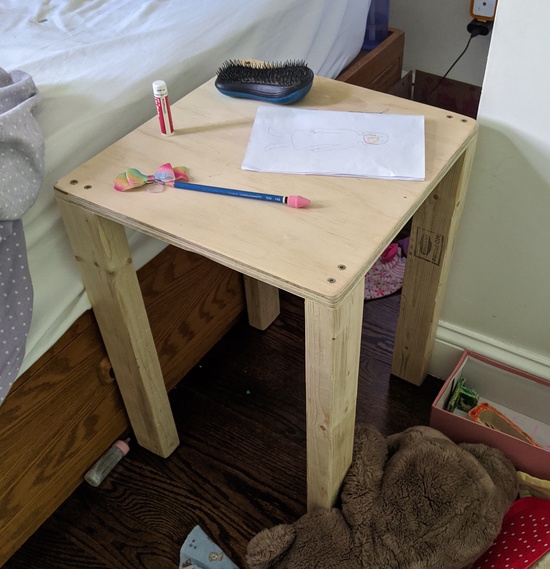
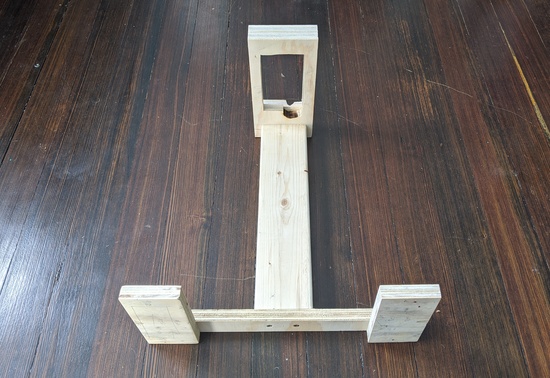
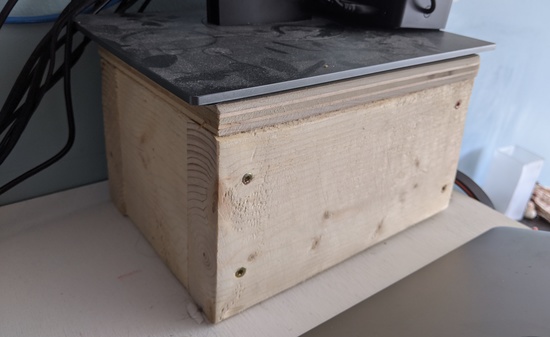
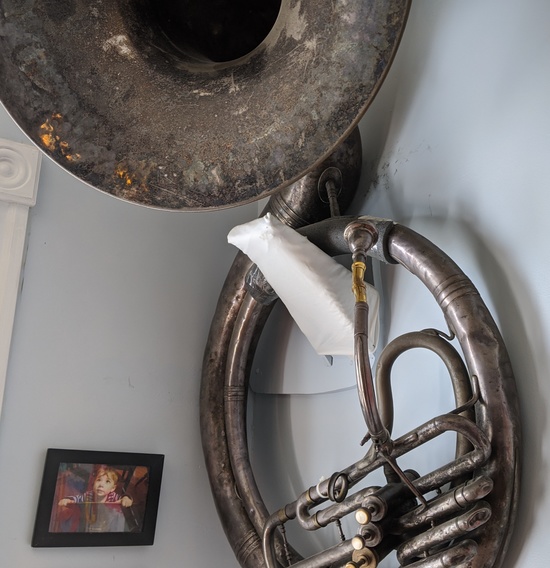
Wandering around the house, here are some examples I’ve made from just these “staples”:
Table, as a project with the kids:
Reclining phone holder (more):
Monitor stand (more):
Sousaphone holder:
These are also good to have on hand for projects where you’re ordering something special-purpose, but either don’t want to order staples as well or won’t know exactly what you want until you have the new part:
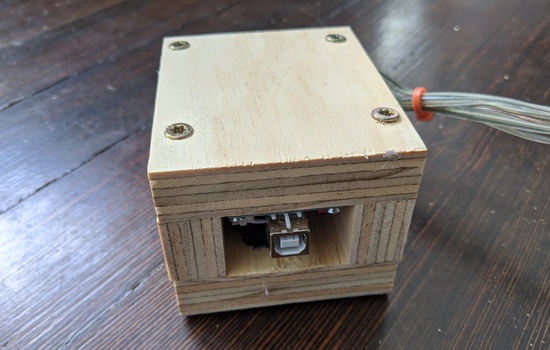
Case, to go around an ordered USB controller (more):
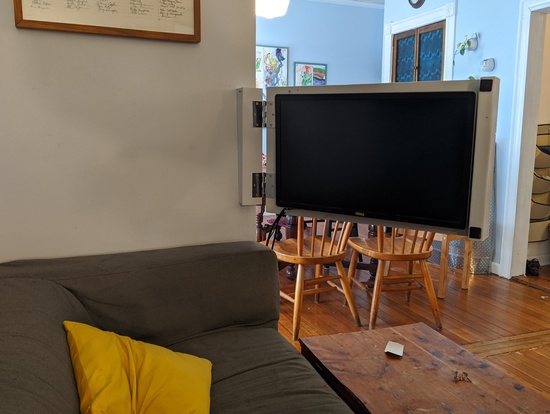
Folding couch monitor, which needed the monitor and hinges (more):
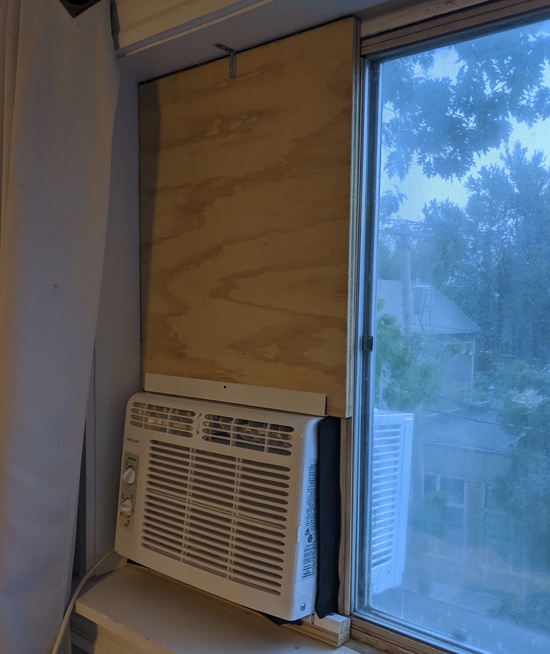
Adapting a sliding window to fit an AC (more):
Everything I do this way does have a bit of a homemade look, but I really like how quickly I can make all sorts of sturdy things.
Comment via: facebook
Duct tape is a stereotype, but having a few kinds of tape including duct, electrical, and athletic can be useful. Less so for building objects like you’ve shown but often for fixing or sealing.
Steel wire is cheap and sometimes comes in handy for providing simple shaped objects or securing pieces together flexibly.
Wooden pallets can often be acquired for free and either used as-is (I have two serving as gardening boxes in my backyard) or stripped down for wood.
Paint! Anything you build can be made 75% less obviously DIY with the appropriate coat of paint applied. Spray paint requires no brushes but does require careful choice of workspace to not make a mess. Canned paint needs only a work surface with a layer of newspaper laid down, but requires some hygiene to maintain brushes and not let it dry out prematurely.